From Yarn to Toy: A Step-by-Step Guide to Crocheting Your First Amigurumi
Share
Crocheting Amigurumi
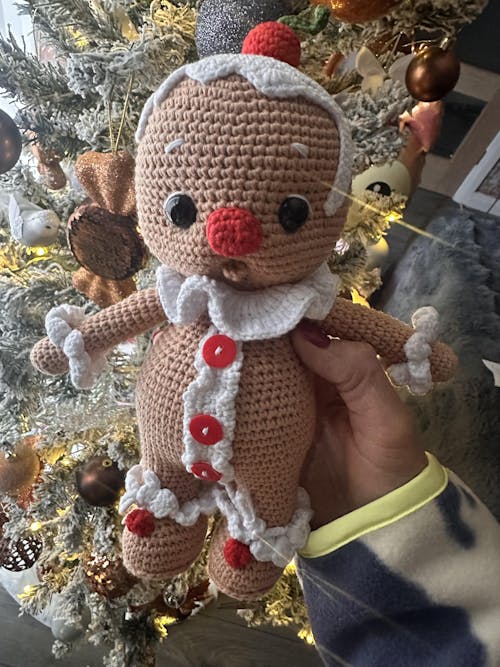
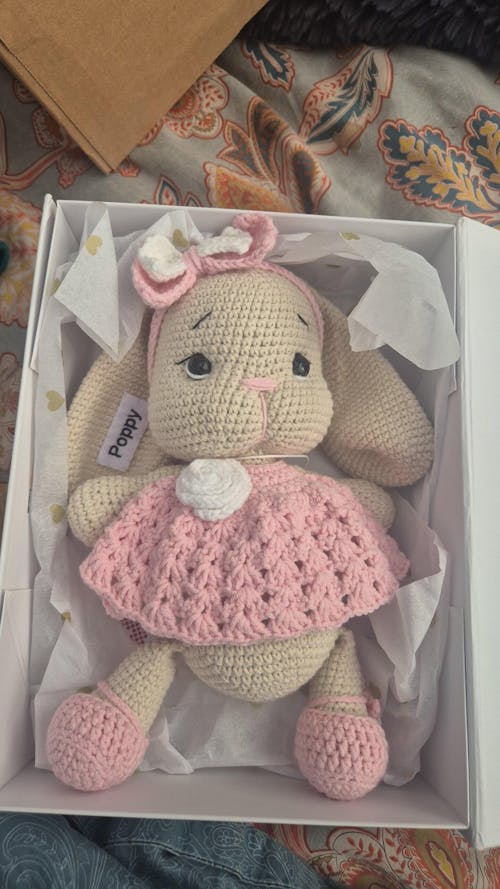
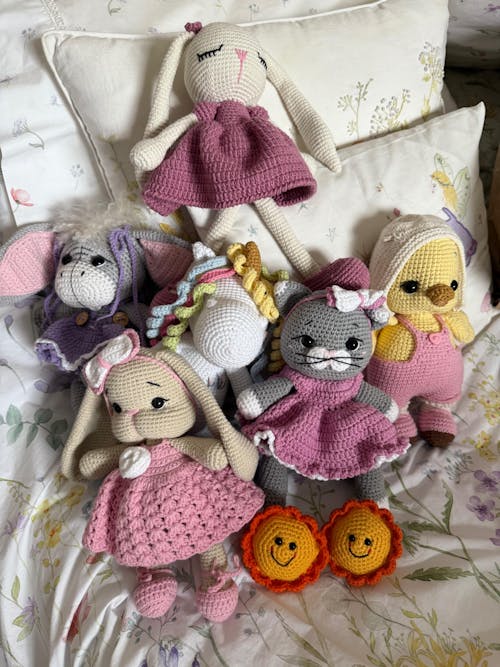
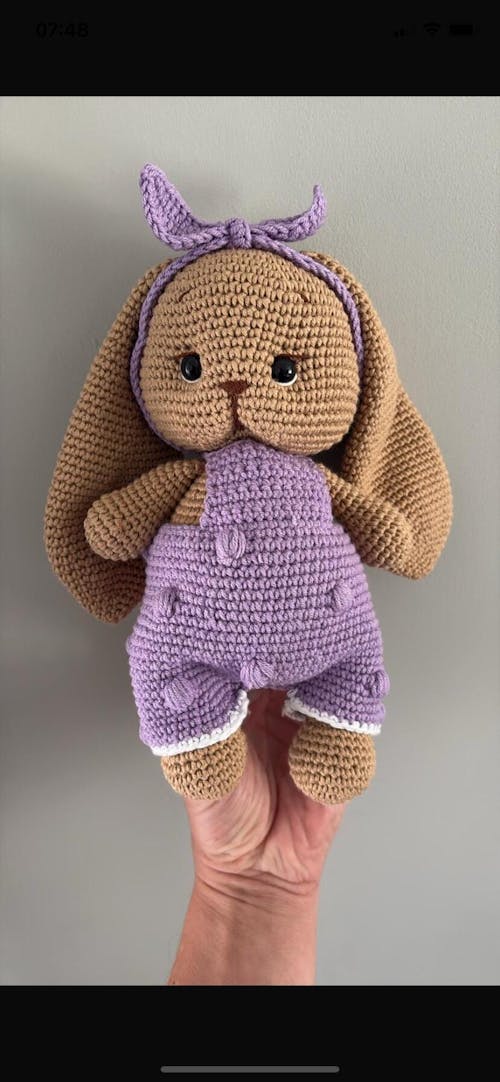
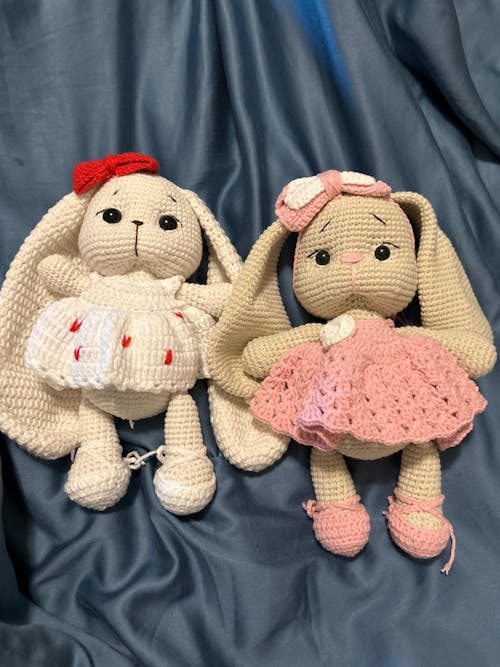
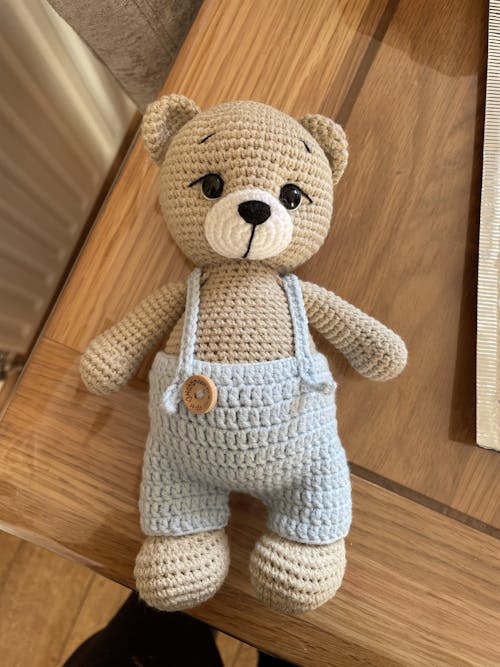
Introduction: Crocheting is not just a hobby; it’s a form of art that allows you to create adorable plush toys known as amigurumi. These charming creations are perfect for adding a touch of whimsy to your life or gifting to loved ones. In this step-by-step guide, we’ll walk through the process of crocheting your very first amigurumi, from selecting the right yarn to adding the final touches to your delightful creation.
-
Getting Started:
- Gather your materials: yarn, crochet hooks, stuffing, scissors, and yarn needles.
- Choose your yarn: Opt for a soft, medium-weight yarn in your desired colors. Acrylic yarn is a popular choice for its durability and wide range of hues.
- Select a crochet hook: The size of your hook will depend on the weight of your yarn. Refer to the yarn label for recommendations.
-
Basic Crochet Techniques:
- Learn the magic circle: This technique creates a tight, seamless starting point for your amigurumi.
- Practice single crochet (sc) and increase (inc) stitches: These basic stitches form the foundation of most amigurumi patterns.
- Master the invisible decrease (dec): This technique creates a smooth decrease without leaving a visible seam.
-
Following a Pattern:
- Choose a beginner-friendly amigurumi pattern: Look for patterns with simple shapes and clear instructions.
- Read the pattern carefully: Familiarize yourself with any special stitches or techniques before you begin.
- Start crocheting: Follow the pattern step by step, paying attention to stitch counts and shaping instructions.
-
Assembling Your Amigurumi:
- Stuff your crochet pieces: Use polyester fiberfill to stuff your amigurumi, ensuring it’s firm but not overstuffed.
- Sew the pieces together: Use your yarn needle to sew the individual components of your amigurumi together, following the pattern guidelines.
- Add embellishments: Use additional yarn or embroidery floss to add details such as eyes, mouths, and other features to your amigurumi.
-
Finishing Touches:
- Weave in loose ends: Use your yarn needle to weave any remaining yarn tails into the body of your amigurumi to secure them.
- Give your amigurumi a final inspection: Check for any loose stitches or uneven seams, and make any necessary adjustments.
- Display or gift your creation: Proudly display your finished amigurumi or gift it to someone special to spread a little handmade joy.
Conclusion: Congratulations, you’ve completed your first amigurumi! Crocheting these charming toys is not only a creative outlet but also a rewarding experience that allows you to bring your imagination to life, one stitch at a time. With practice and patience, you’ll soon be crafting a whole menagerie of adorable amigurumi creatures to delight yourself and others. Happy crocheting!

